
Setting up a 65-inch TV by yourself may seem daunting, but with the right tips and techniques, you can accomplish it successfully. Whether you’ve just bought a new TV or you’re repositioning an existing one, following a few simple steps can ensure a seamless installation process. In this guide, I’ll provide you with valuable TV installation tips and DIY television setup instructions to help you set up your 65-inch TV with confidence.
Key Takeaways:
- Consider the weight and fragility of the TV when planning the installation.
- Choose the right wall mount based on your TV’s weight and size.
- Find an ideal location with easy access to power outlets and cable input sources.
- Position the TV at an optimal height for a comfortable viewing experience.
- Follow the proper steps for mounting the TV and connecting the cables.
Choosing the Right Wall Mount
When it comes to mounting a 65-inch TV, choosing the right wall mount is essential for a successful DIY TV installation. With various options available, including fixed mounts, tilting mounts, and full-motion mounts, it’s important to consider your specific needs and preferences.

Start by considering the weight and size of your TV. Each mount has weight and size limitations, so be sure to choose a mount that is compatible with your TV model. This will ensure that your TV is securely held in place and eliminates any risk of it falling or tipping over.
Once you’ve determined the type of mount and its compatibility, make sure it is securely attached to the wall. The last thing you want is a loose or wobbly mount that compromises your TV’s stability. Use a stud finder to locate the studs in the wall and mark the pilot holes for drilling. This will provide a strong anchor point for your wall mount.
Remember, the wall mount should be capable of supporting the weight of your 65-inch TV. Ensure that the mount you choose can handle the TV’s weight and size, providing you with peace of mind and a secure installation.
“Choosing the right wall mount is crucial for a successful TV installation. It ensures the safety and stability of your TV, while also enhancing your viewing experience.” – Janice, DIY TV Enthusiast

Finding the Ideal Location and Height
Before mounting your 65-inch TV, it’s essential to carefully consider the location and height placement. Choosing the right TV installation location is crucial for optimizing your viewing experience. Here are some important guidelines to follow:
- Choose a location that provides easy access to power outlets and cable input sources. This will make it convenient to connect your TV and other devices without needing to stretch cables across the room.
- Avoid placing your TV in direct sunlight as it can cause glare, making it difficult to see the screen clearly. Opt for a location where you can control the lighting conditions.
- Consider the presence of vibrations in the chosen location. Vibrations can negatively impact the TV’s performance and stability. Choose a spot away from sources of excessive vibrations, like speakers or appliances.
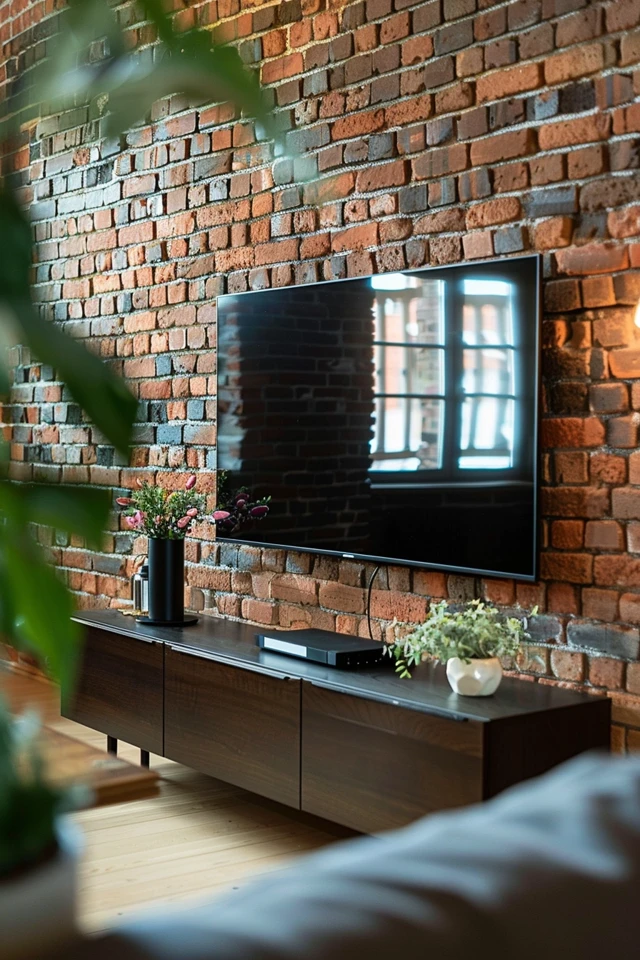
When determining the height for your TV placement, it’s important to ensure optimal viewing comfort. Follow these guidelines:
- Position the bottom of the TV display no higher than eye level when seated. This prevents strain on your neck and ensures a comfortable viewing angle.
- The top of the display should also be no higher than eye level when standing. This allows for easy viewing when you’re in a standing position, such as during a gathering or while playing games.
To test the ideal location and height, you can create a paper or cardboard cutout of your TV’s size and position it on the wall. This simulation helps you visualize the result before mounting your TV.
Remember, finding the right location and placing the TV at the optimal height enhances your overall viewing experience and reduces eye strain.
When you’re satisfied with the location and height placement, it’s time to move on to the next step: mounting the TV and connecting the cables.

Mounting the TV and Cable Connection
Now that you’ve chosen the wall mount and determined the ideal location, it’s time to mount the TV. First, attach the mounting bracket to the TV, following the manufacturer’s instructions for proper placement and alignment. This step ensures that the TV is securely attached to the wall mount.
Next, use a stud finder to locate the studs in the wall. Mark the pilot holes on the wall where the mount will be attached. It’s essential to anchor the mount to the studs for maximum stability and to support the weight of the TV.
Now, position the wall mount on the wall, aligning it with the marked pilot holes. Use a drill to attach the mount securely to the wall, making sure it is level. This step ensures that the TV is positioned correctly and doesn’t tilt or shift.
After mounting the TV, it’s time to connect the necessary cables. Start by identifying the different cable types required, such as HDMI, power, and audio cables. Connect the cables to their respective ports on the TV, making sure they are securely inserted. For a clean and organized look, consider using cable management solutions to hide or neatly arrange the cables.
Once the cables are connected, carefully place the TV onto the wall mount, ensuring that it is securely attached and level. Take a step back and adjust the TV if needed to ensure optimal viewing angles and a visually pleasing setup. Now you can enjoy your newly mounted TV and immerse yourself in your favorite shows and movies!